Learning Objectives
- Working with images in Java
- Object Oriented Programming Techniques
Recap
Previously we made a basic framework that we can use to make a simple game. It’s still missing a few things, well, quite a few things, but it’s a start.
Then we changed our Sprite class to load and draw an image instead of a pink rectangle.
If you got a bit lost anywhere along the way, you can download my files here:
Feel free to download these and use them to get going again.
Spritesheets
![]()
At the end of the last part I linked the spritesheet a spritesheet is a single image that contains all of the images needed for a game, or a level or interface or whatever. Using spritesheets makes things a little easier to manage so let’s create a new class that can load a spritesheet.
// Spritesheet.java
package covid19;

import java.awt.image.BufferedImage;
import java.awt.Graphics;
import java.awt.Color;

import javax.imageio.ImageIO;

import java.util.List;
import java.util.ArrayList;

public class Spritesheet {


    protected BufferedImage image;
    protected List<BufferedImage> tiles = new ArrayList<BufferedImage>();

    public Spritesheet(String image_file, int tile_size) {
        try {
            image = ImageIO.read(getClass().getResource(image_file));
        }
        catch (Exception e) {
            System.out.println("error loading Spritesheet image.");
            image = new BufferedImage(32, 32, BufferedImage.TYPE_INT_RGB);
            Graphics g = image.getGraphics();

            g.setColor(new Color(255, 0, 255));
            g.fillRect(0, 0, 32, 32);
        }
    }
}
This is very similar to the Sprite class, but I’ve combined the two constructors. If the spritesheet file can’t be loaded, we just create a pink rectangle instead. Notice we’ve got another ArrayList which we can use to hold each of the tiles from the spritesheet image.
On its own, this doesn’t do much. We want to split up the image into the individual tiles. Notice our constructor takes a second argument - the tile_size. We can use this to split the image up into chunks. Replace the try {} part of the constructor:
// Spritesheet.java
        try {
            image = ImageIO.read(getClass().getResource(image_file));
            for (int rows=0 ; rows < image.getWidth() / tile_size ; rows++) {

                for (int cols=0 ; cols < image.getHeight() / tile_size ; cols++) {

                    BufferedImage img;
                    img = image.getSubimage(cols*tile_size, rows*tile_size, tile_size, tile_size);
                    tiles.add(img);
                }

            }

        }
There’s a bit of maths going on in there - but we’re using the getSubimage() method of our image object to cut it up into smaller chunks and adding those chunks (tiles) to the ArrayList.
One last thing we need to do to our Spritesheet class is to add a method for accessing the tiles we have stored:
// Spritesheet.java
public BufferedImage getTile(int tile) {
    if (tiles.size() == 0) {
        return image;
    }
    return tiles.get(tile);
}
I’ve added a little bit of logic to deal with the error of the image not loading (you’ll almost certainly have the file in the wrong folder at some point or other!), in which case it just always returns the pink rectangle. Otherwise it simply returns the tile at the position indicated. Note that our code splits up the image across and then down, so the first row of the image are the first 4 tiles, then it moves down to the next row.
With that done, we need to use our spritesheet. Edit JDojoMaster and add the following code:
// JDojoMaster.java
    protected Scene scene;              // this line is already here
    protected Sprite player;            // so it this one
    protected Spritesheet spritesheet;
then create a new Spritesheet in the init() function (replace the whole function):
// JDojoMaster.java
private void init() {
    spritesheet = new Spritesheet("/spritesheet.png", 32);

    player = new Sprite(spritesheet.getTile(0));

    scene.addSprite(player);

    scene.repaint();
}
On its own, this won’t quite work, because we’ve changed how we create the Sprite. Instead of giving it a filename, we’re now just passing in a whole image. We need to create a new constructor in the Sprite class:
// Sprite.java

public Sprite(BufferedImage img) {
    this();
    image = img;
}
This part wasn’t incredibly exciting, because we’ve pretty much ended up back where we started. If you compile and run, you should have the same fighting guy in the corner:
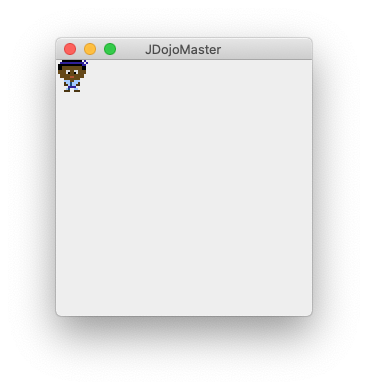
Try changing the value passed to the getTile() method of the spritesheet above. If you’re using my spritesheet, the number 8 should get you the red dude instead.
In the next part, we’ll add some controls and make some things happen.