Learning Objectives
- Create a simple Scratch Program
- Use
if \ elseblocks to control the flow of a program - Respond to input from the keyboard
Getting Started
We’ll be using Scratch 2 for this project. The easiest way to access Scratch 2 is to use the web-version:
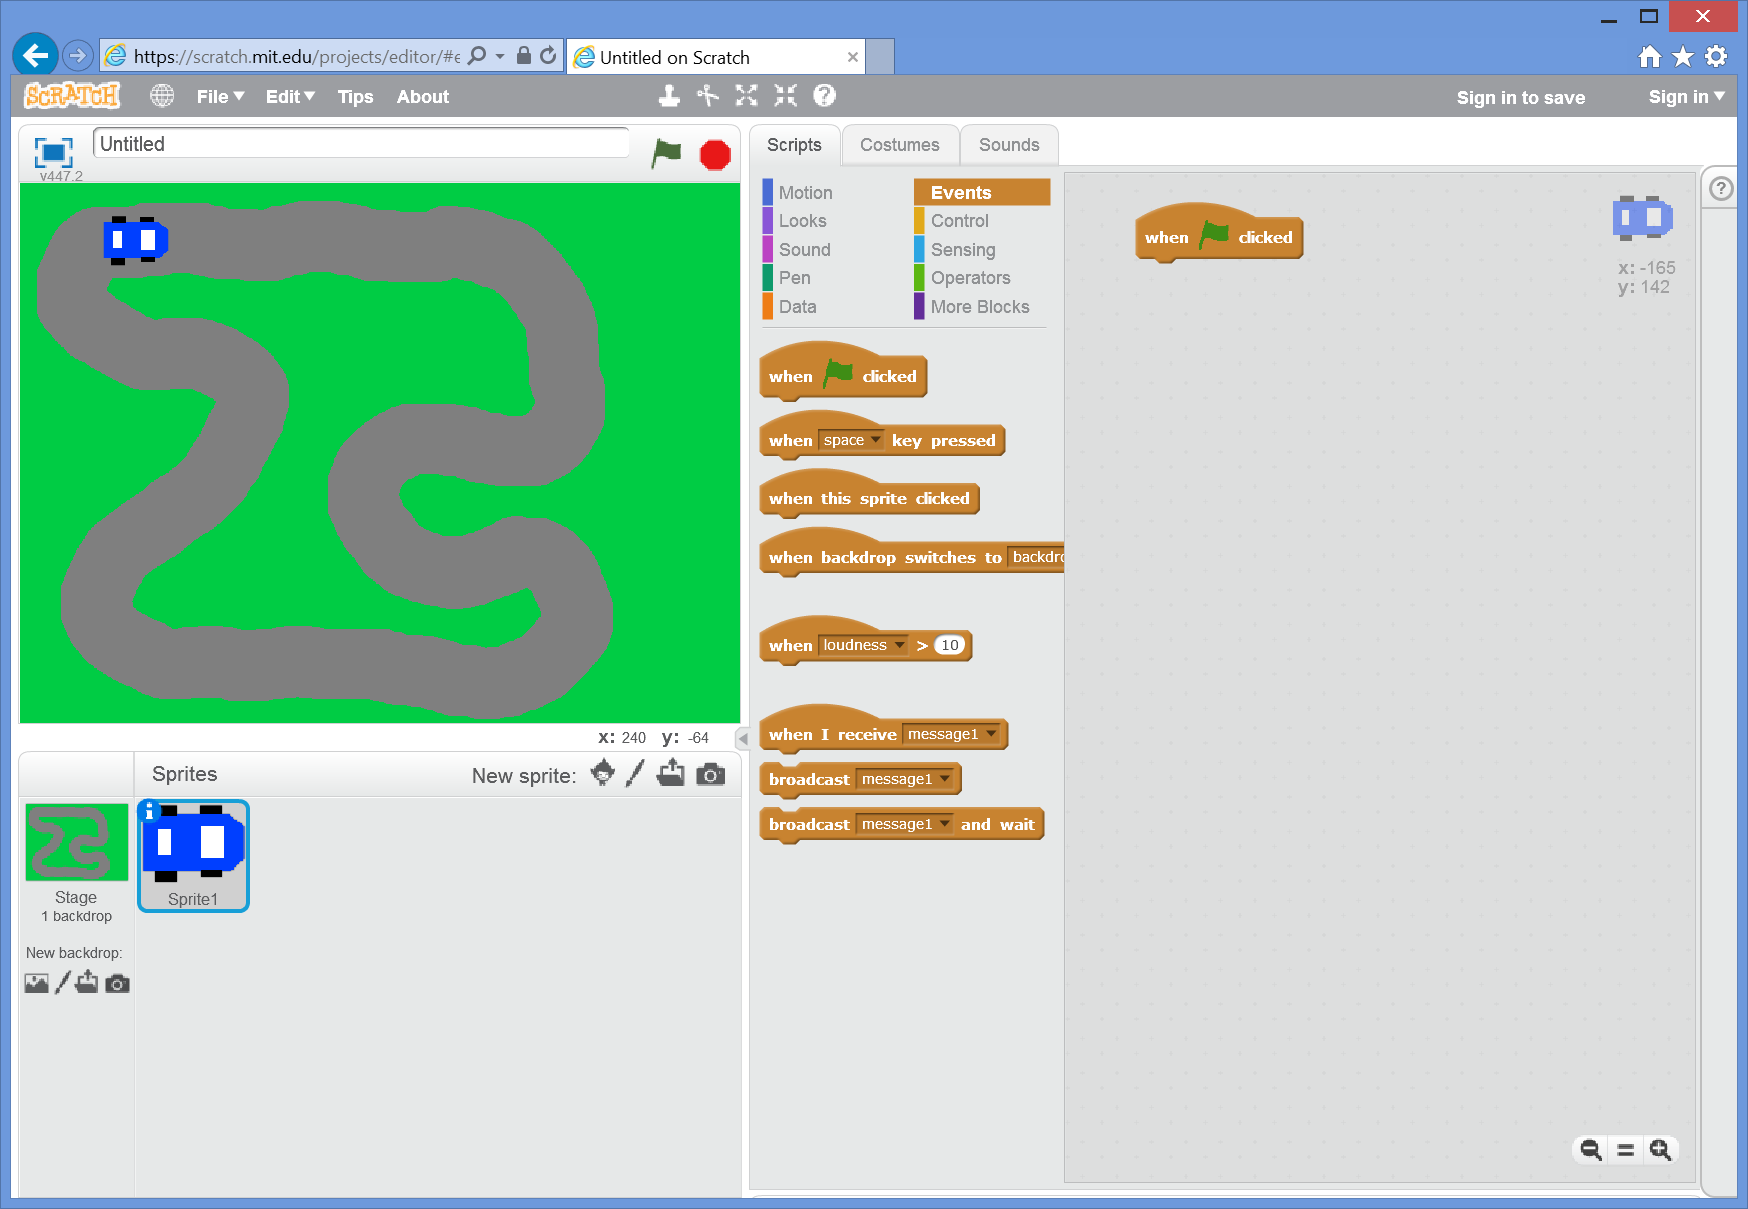
Once the page has loaded, click on scratch the cat down in the sprites pane and delete the sprite - we’ll be creating our own!
![]()
Programming the Car
Select the car sprite from the sprite pane at the bottom and click the Scripts tab in the middle pane. Make sure you are definitely adding scripts to the car, not the stage!
Add a  block from the yellow
 Control section:
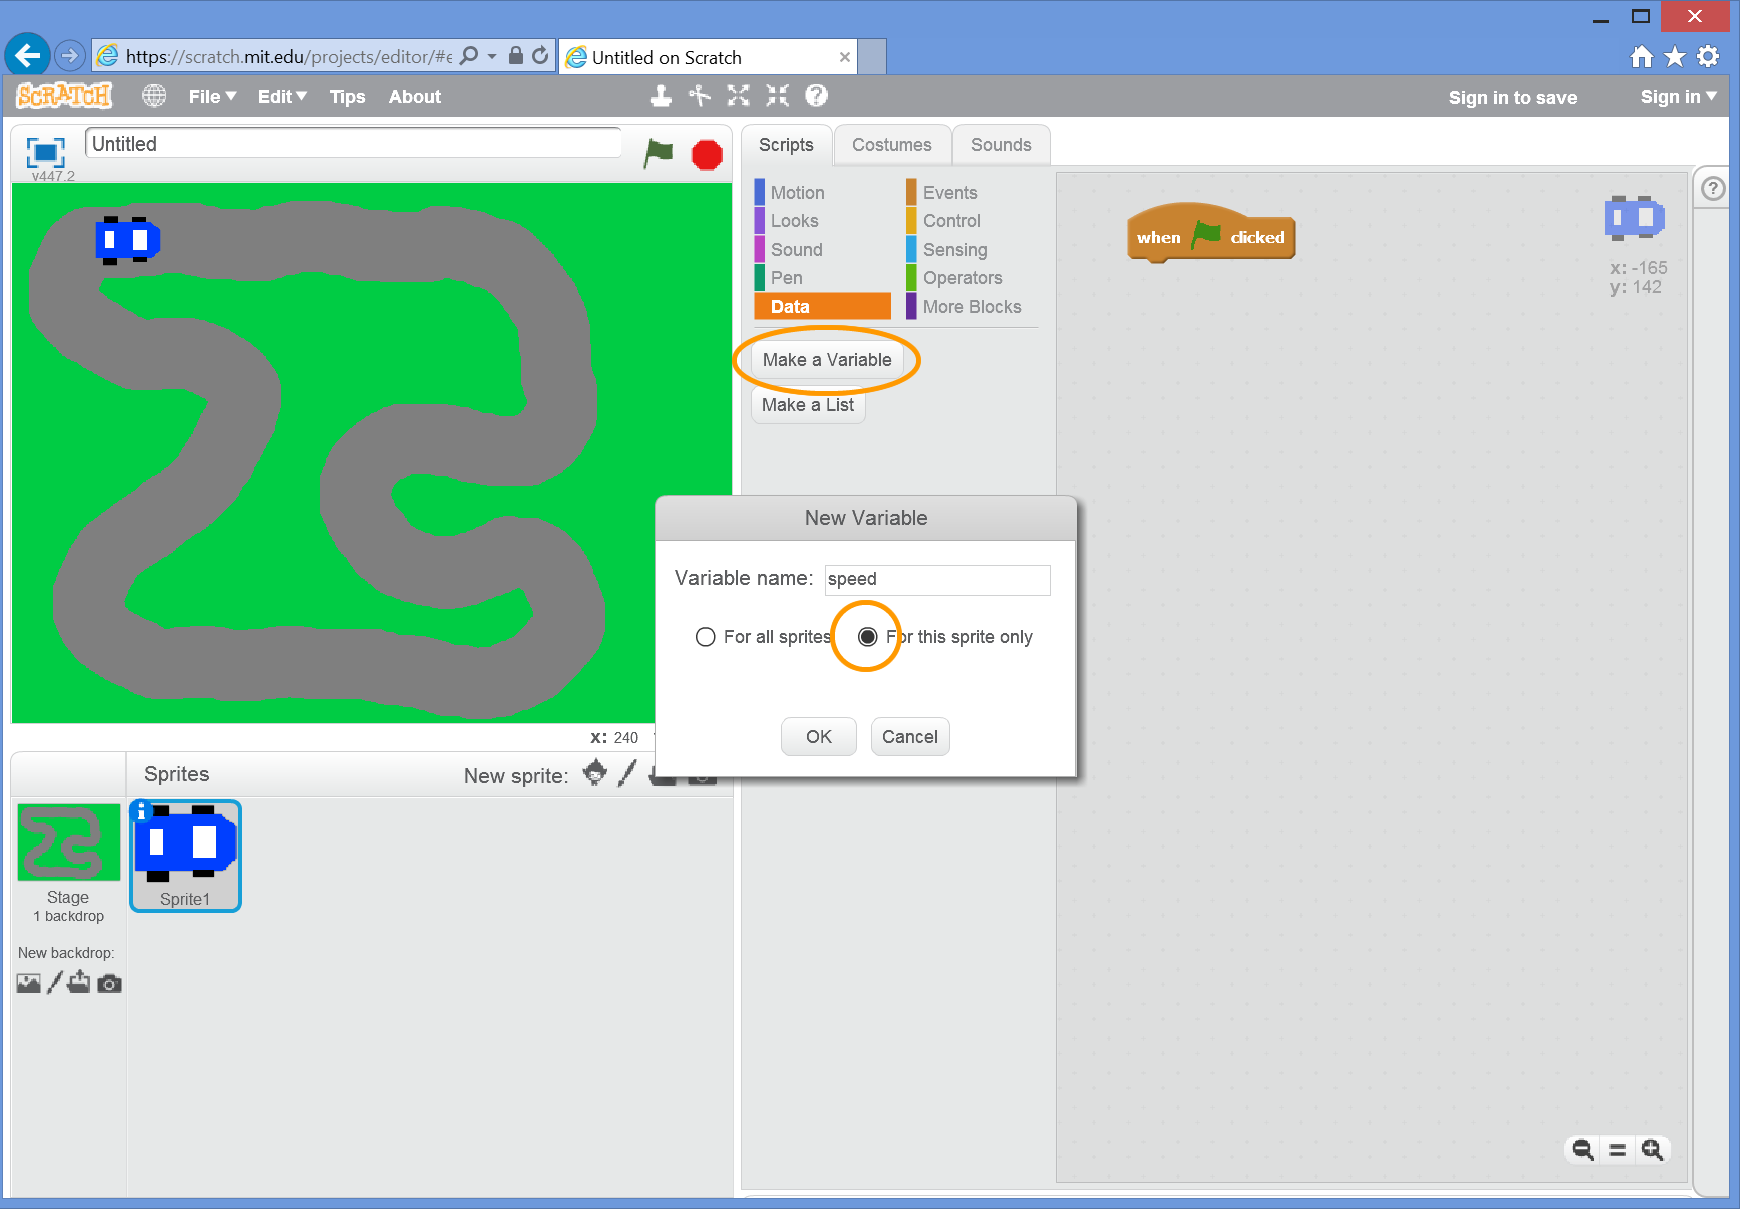
We want our car to behave a little bit like a real car – accelerating up to speed when we press the up arrow key. To do this, we need to create a variable to hold the speed that the car is going at.
From the orange Variables section, click the Make a variable button. Give it the name speed and choose the For this sprite only option, because we want the speed to only be associated with our car sprite:
Now that we have a variable, we should initialise it whenever our game starts. Add a new block from the orange Variables section just underneath the green flag block:
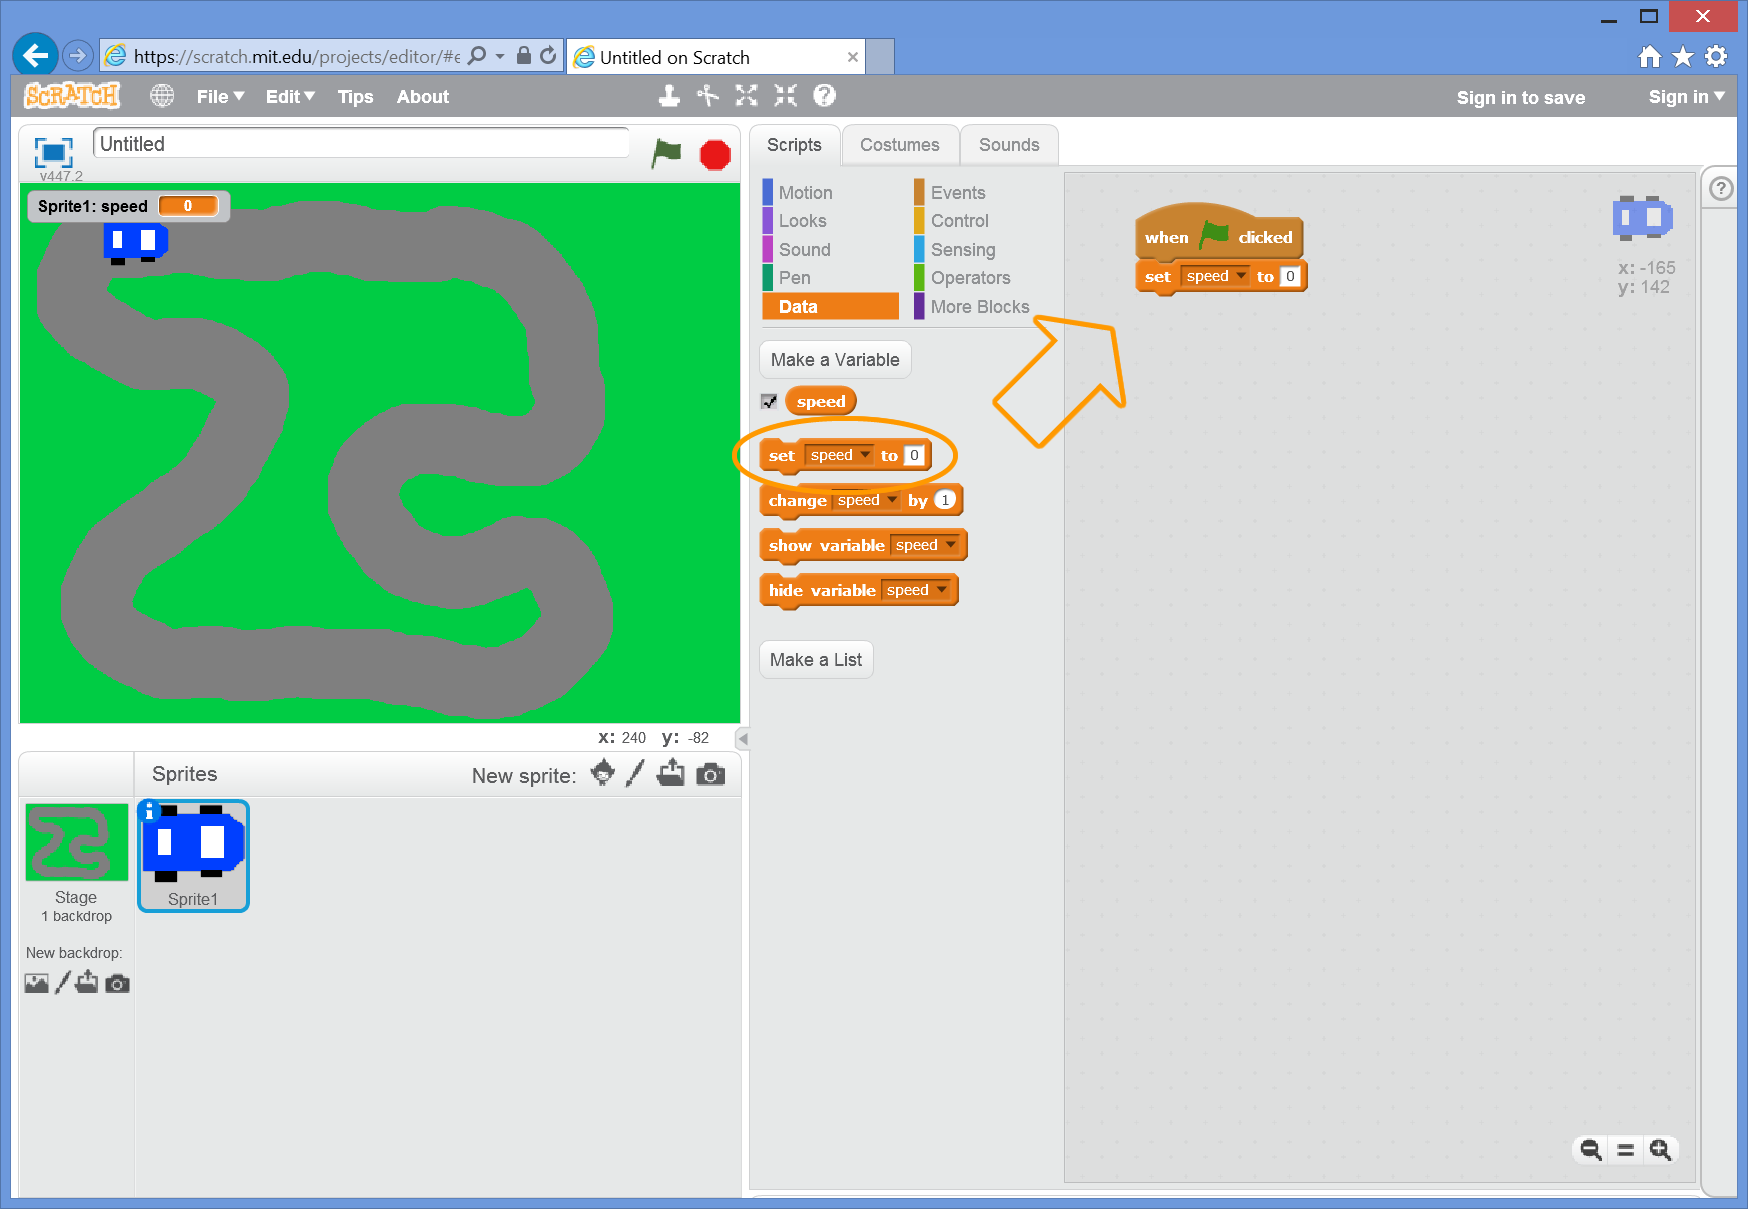
Now every time we start our game by clicking the green flag button, the speed of the car will always start at 0.
Next, we need to create a game loop that checks to see if the up arrow key is being pressed. If it is, we increase the speed by a little bit:

Notice that we need a forever loop and an if/else block from the yellow Control section, a key <up arrow> pressed? block from the blue Sensing section and a change <variable> by x block from the orange Variables section.
If you click the green flag at this stage and press the up-arrow on the keyboard – nothing happens, although you might notice that the value in the speed variable displayed in the game window goes up. Make sure your speed is only going up a little bit at a time.
Next we need to actually move the car forwards based on its speed. Add a dark-blue Motion block just before the end of the forever loop:
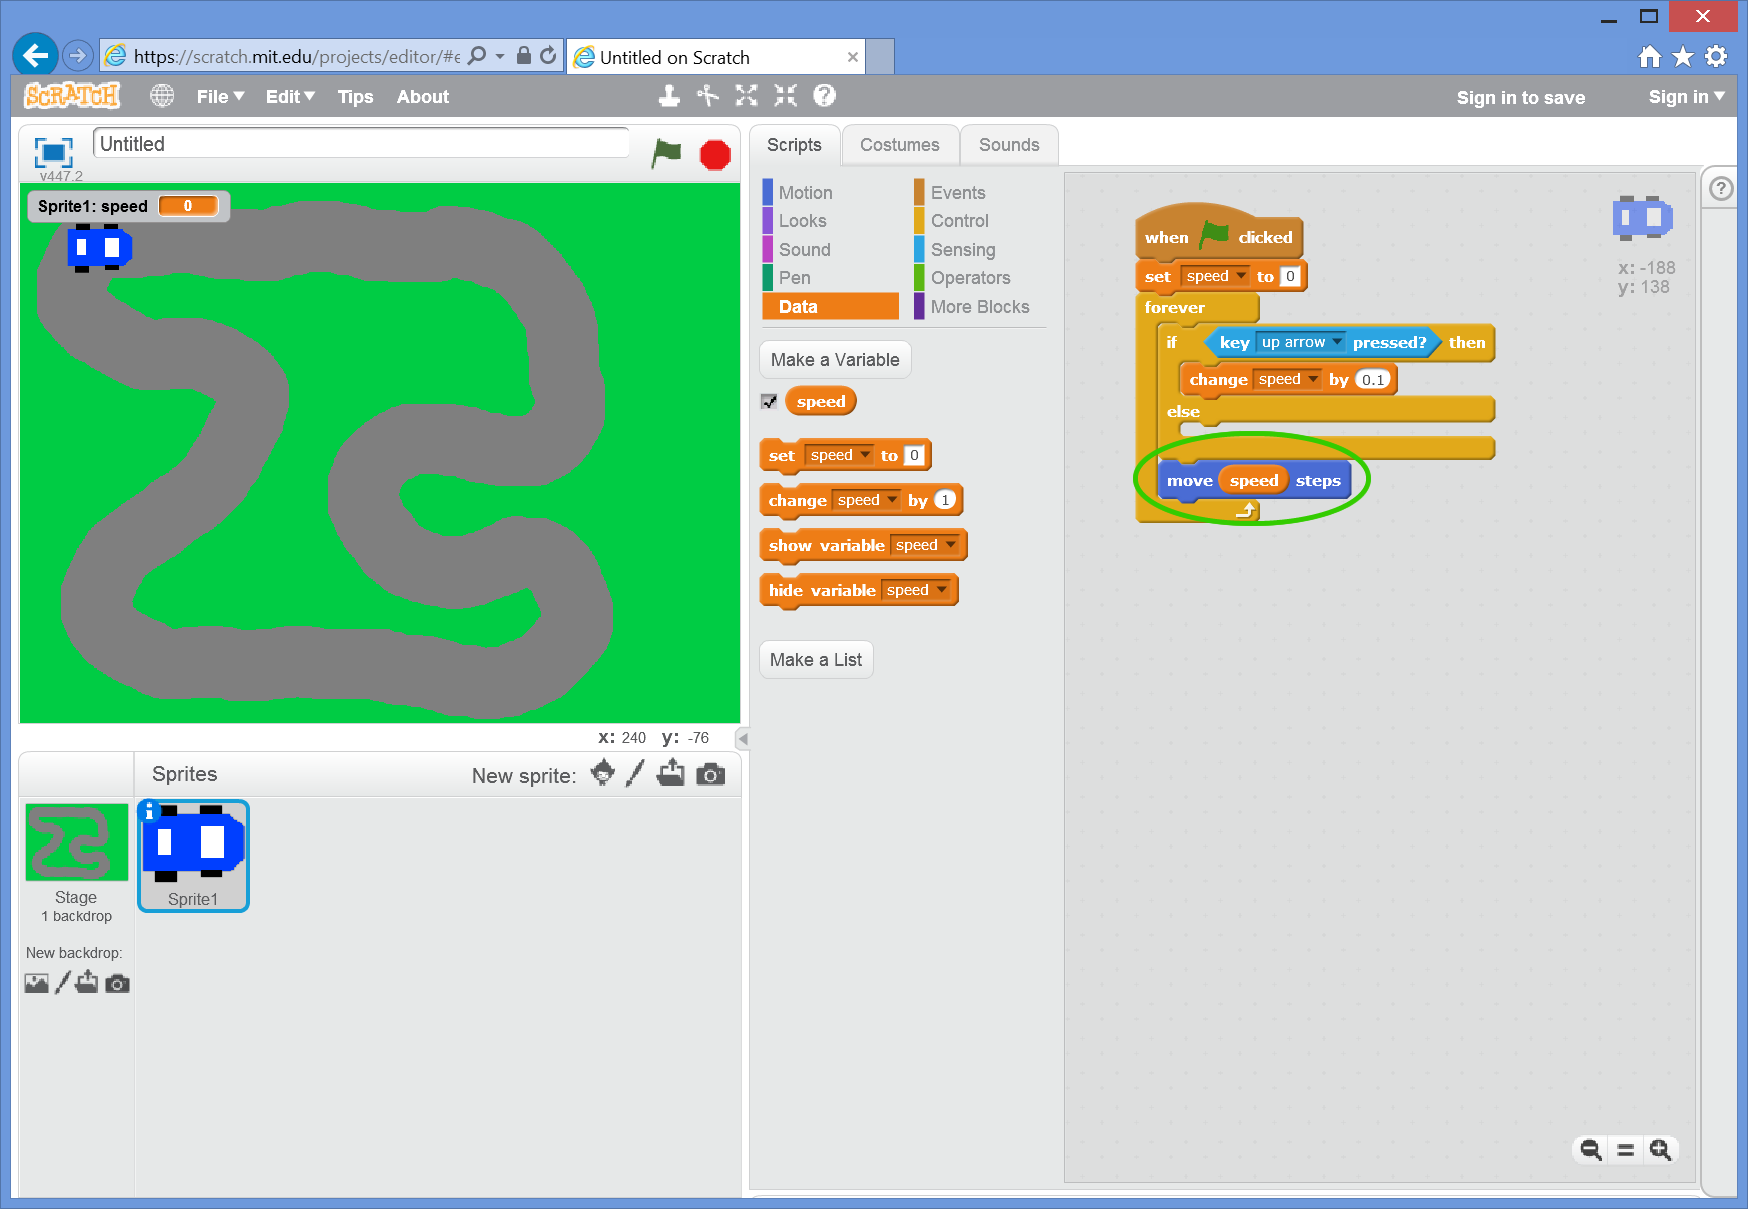
Notice that instead of typing a number in the move <number> steps block, we’ve dragged the speed variable from the orange Variables section and dropped it into the number slot. This means our car will move the number of steps stored in our speed variable each time the loop goes around.
If we click the green flag now, and press the up-arrow on our keyboard, our car will start moving to the right, faster and faster until it hits the side of the screen!
Not quite what we want, but definitely a start! Let’s get the car to slow down when we aren’t pressing the up-arrow key.
To do this, we need to add some blocks into the else part of the if/else block we added earlier. “If a key is pressed, increase the speed, else decrease the speed.”:
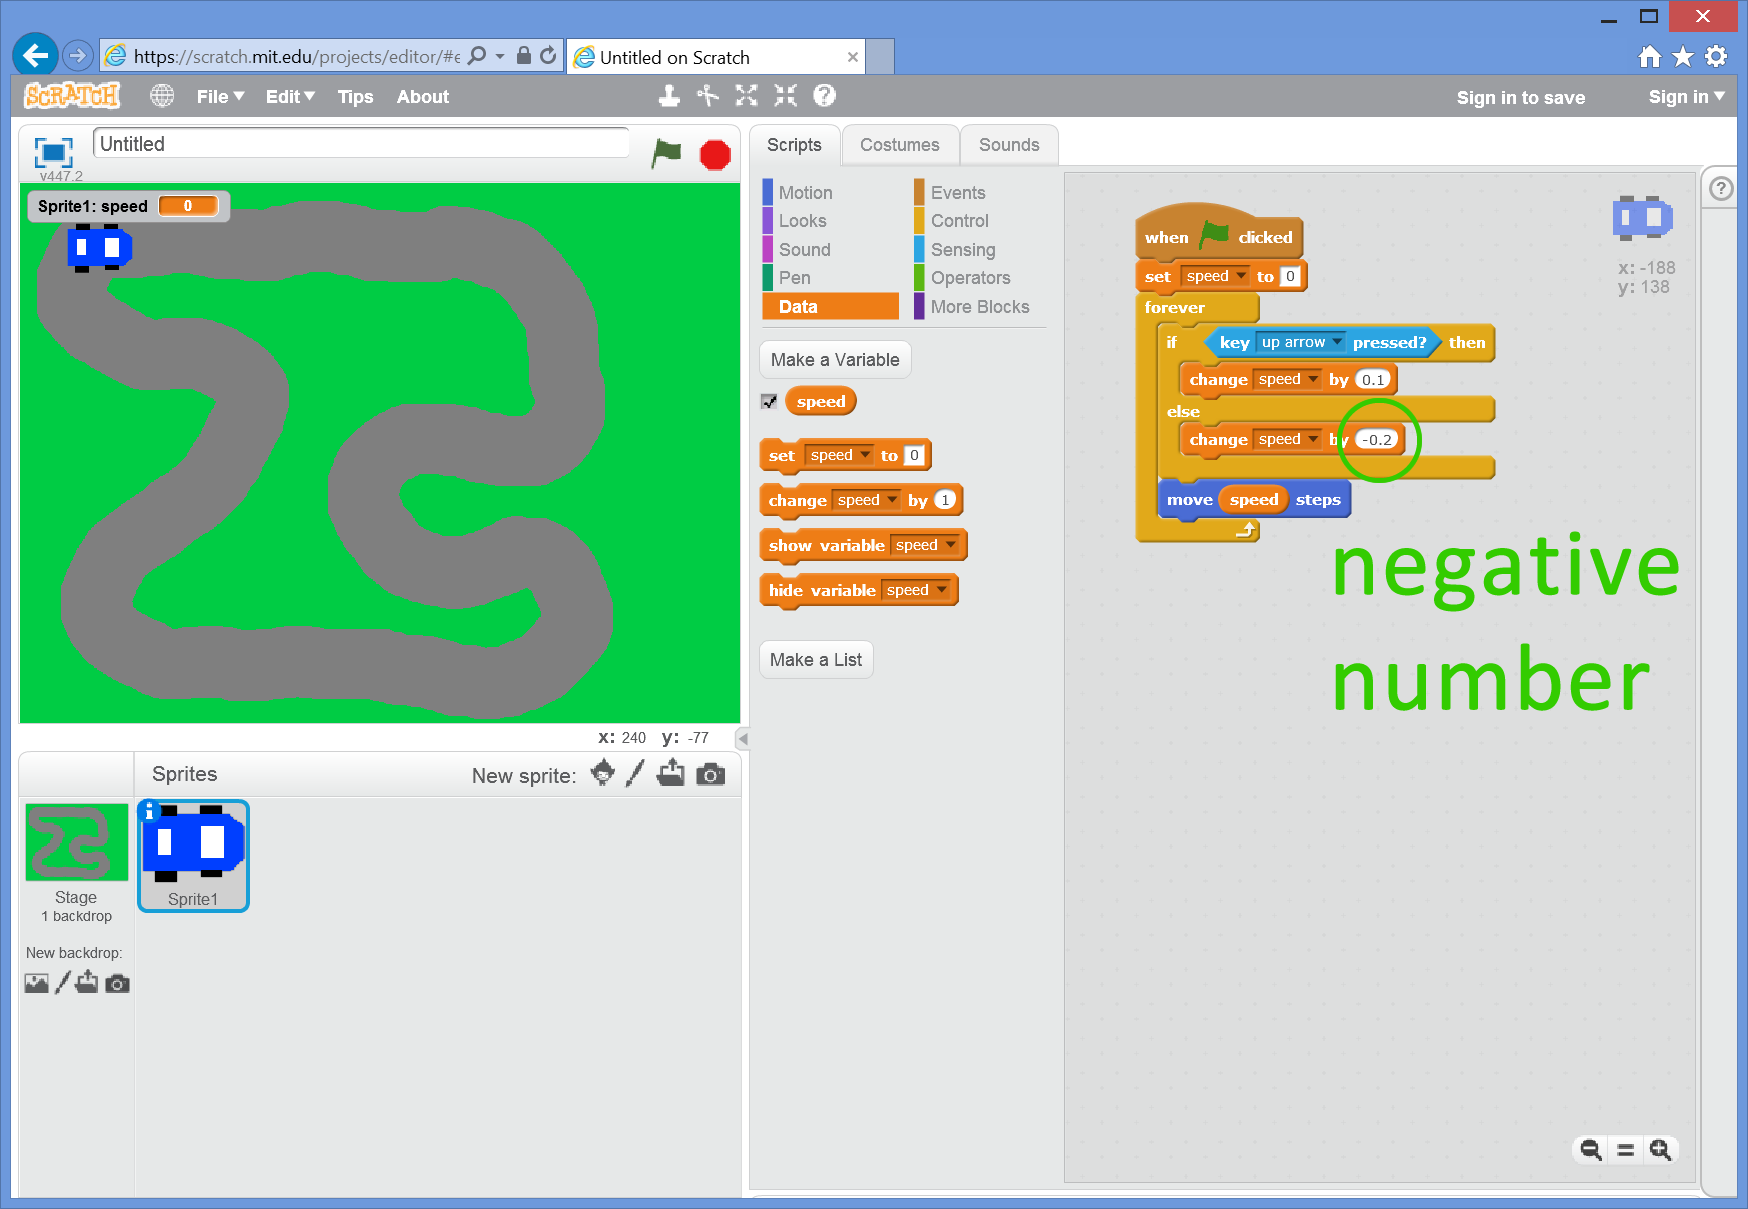
One block added to the else part of the if/else block that changes the speed variable by -0.2 if the up-arrow key isn’t being pressed.
Click the green flag button again – Oh no! If we don’t immediately press the up-arrow key, our car starts going backwards! Hold down the up-arrow key for a little while and eventually the car starts moving forward again!
We need to limit the speed variable, so that it never goes below zero. We should probably also limit it so it never goes higher than a maximum speed. Let’s say 8.0 is our maximum speed.
Add a simple if block to both parts of the if/else block we’ve been working on:
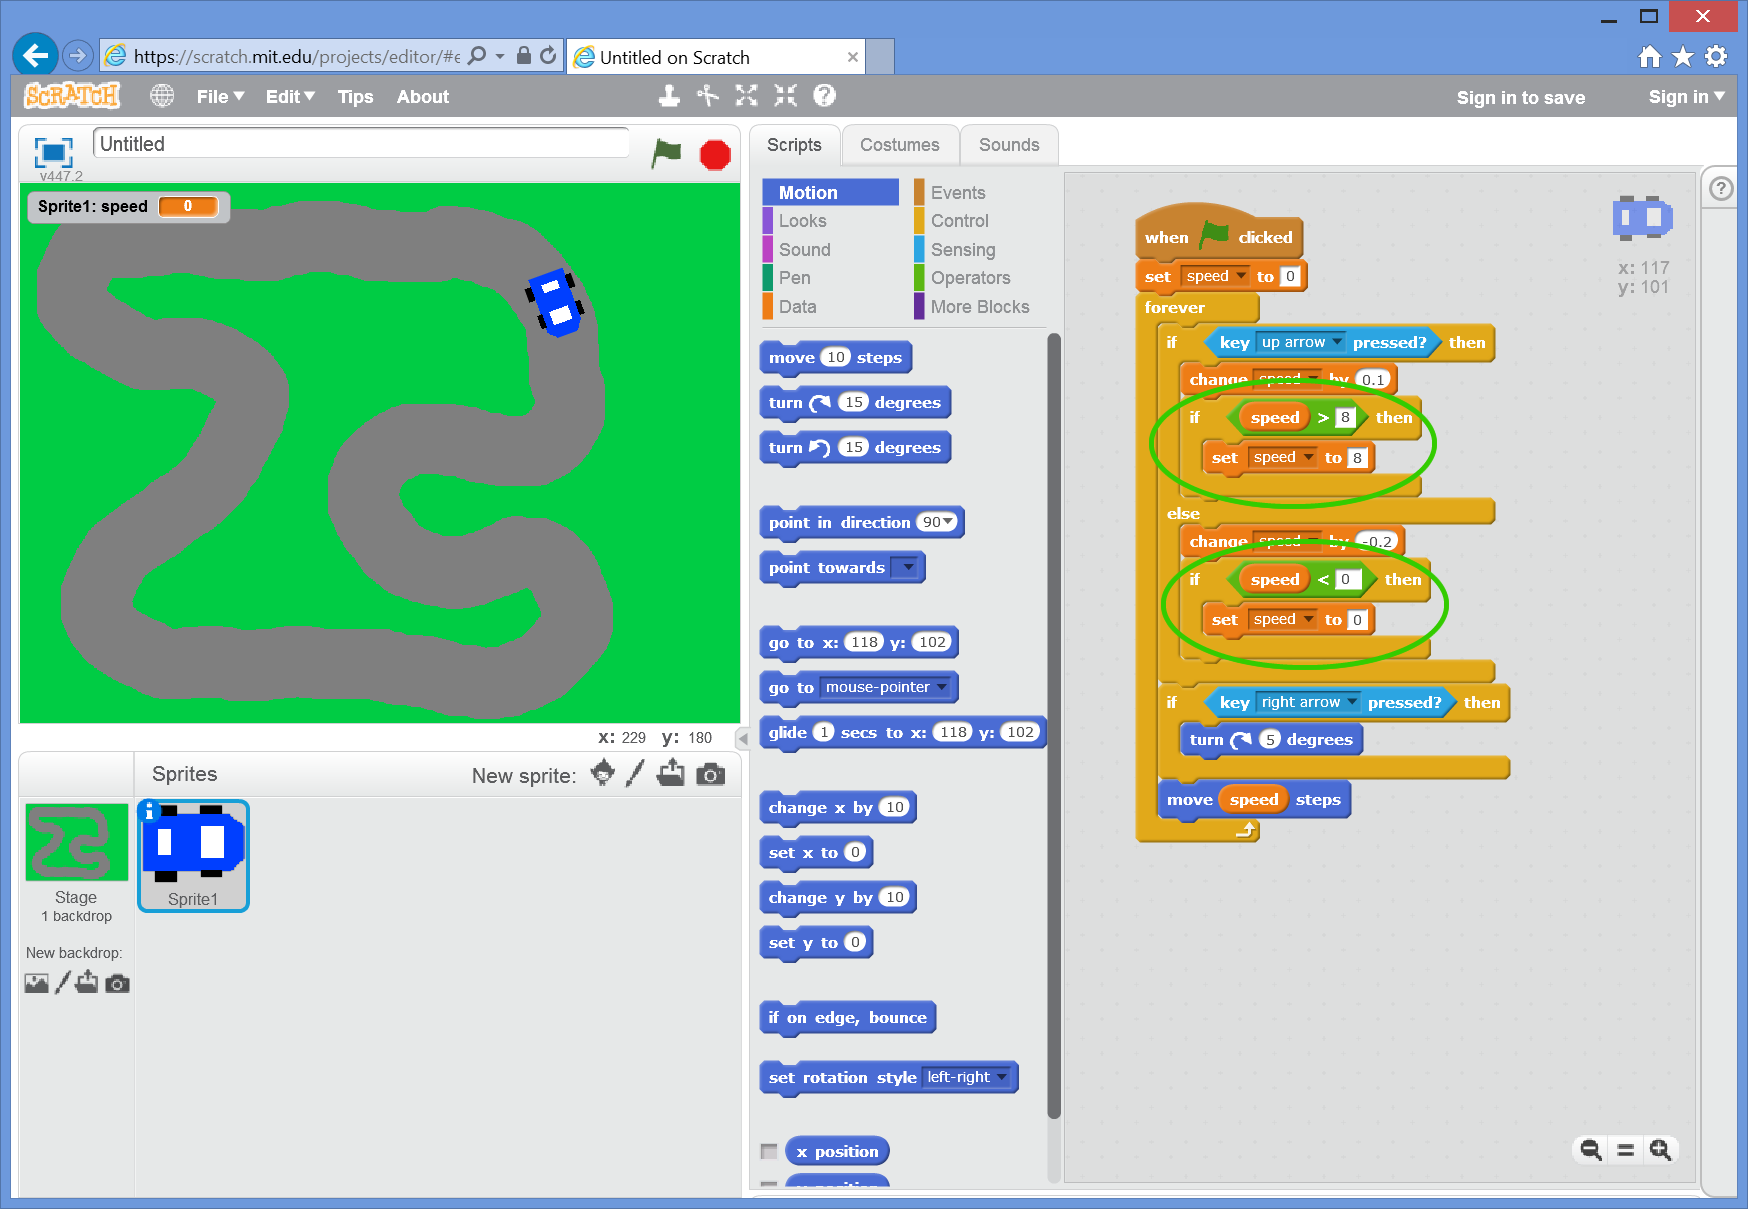
There’s quite a lot going on in this part, notice that we’ve used blocks from the green Operators section in the new if blocks. “If the speed variable is bigger than 8, set speed to 8” and “if the speed variable is smaller than 0, set speed to 0”.
These two if statements ensure that the speed can never be too big, or too small.
Press the green flag button now and see what happens when you press the up-arrow!
Next we need to add some steering. Watch the placement of these next blocks, because it’s really easy to put them in the wrong place:
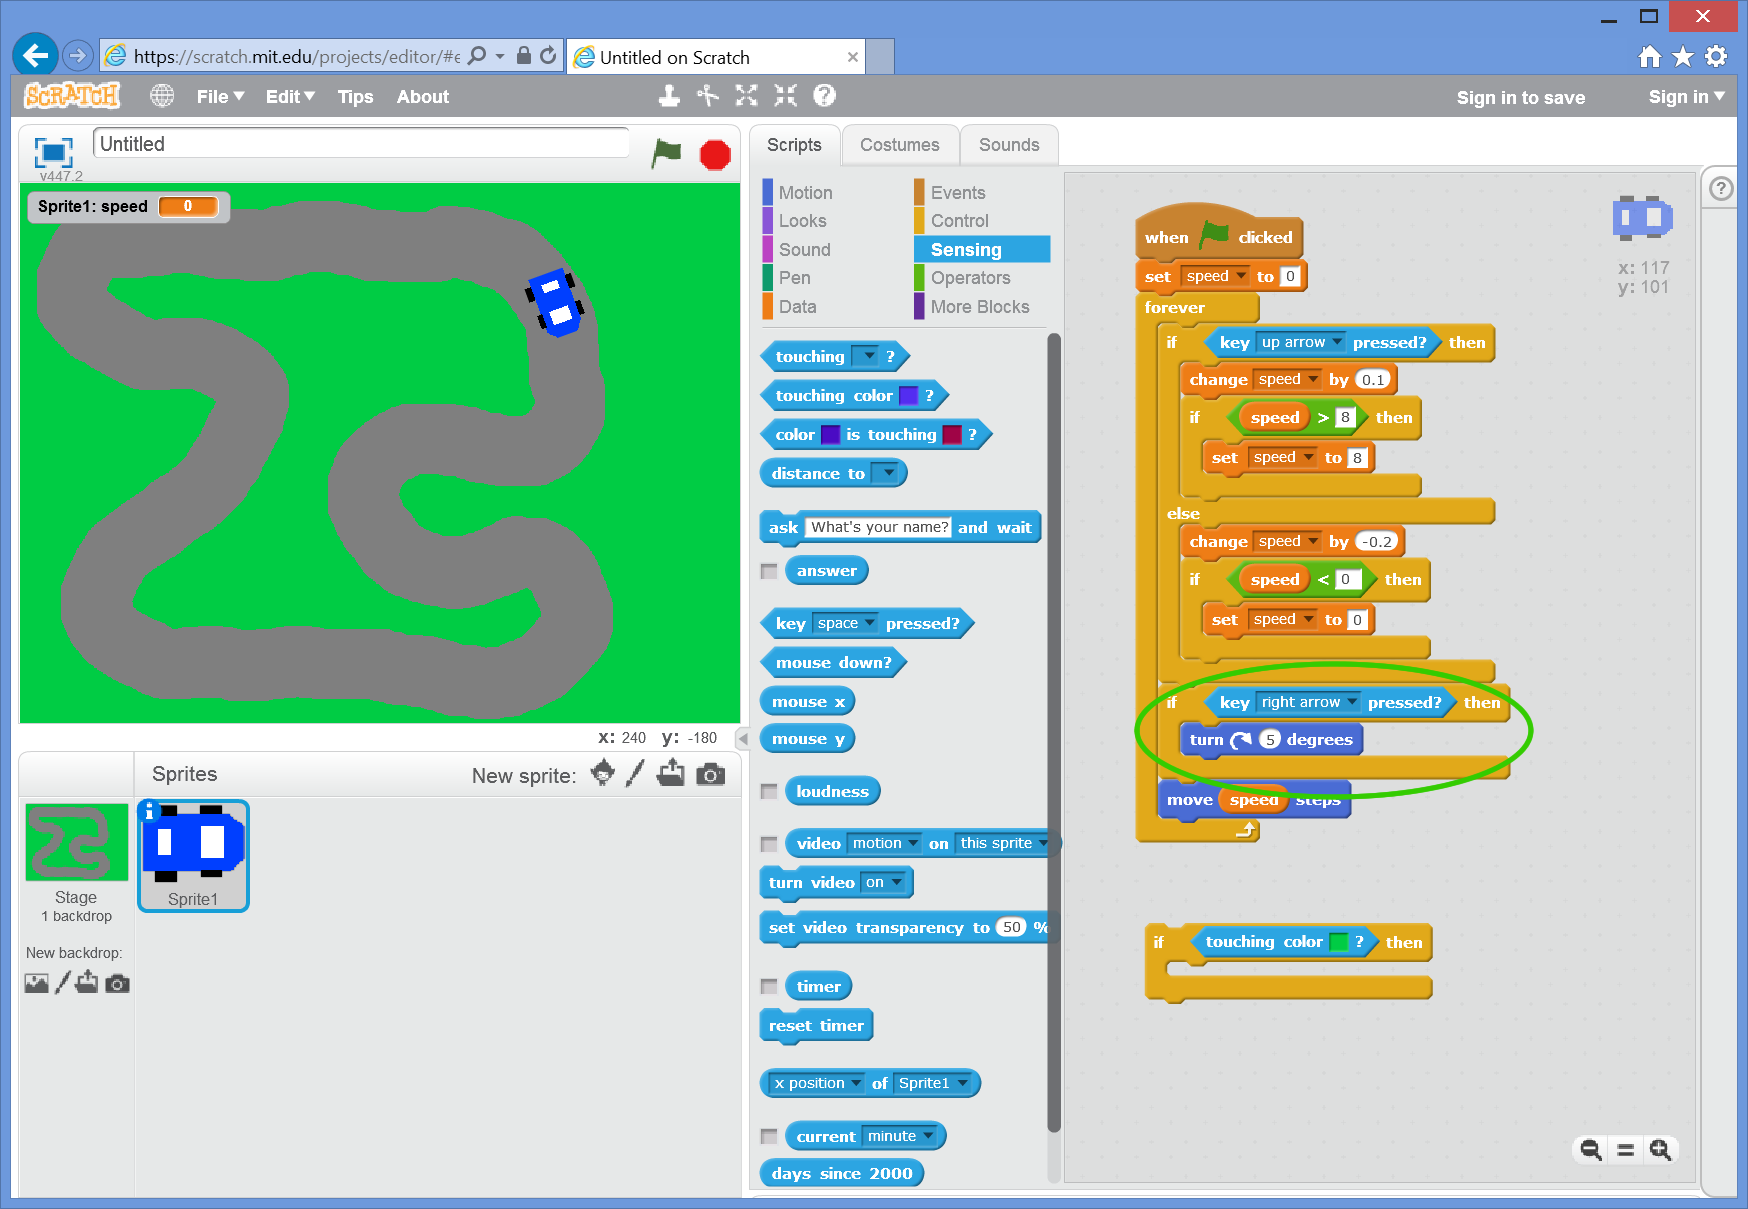
New blocks have come from the yellow Control section for the if, light-blue Sensing for the key <right arrow> and dark-blue Motion for the turn <right> 5 degrees.
Make sure you put them in the right place – these blocks need to go just above the move <speed> steps block, but not inside the if/else block we’ve been working on previously.
Try the green flag button – we should now be able to turn the car to the right using the right-arrow key!
You’re on your own now! Your first task is to get the car steering to the left as well! (hint: use the right-turn we just did to help you!).
Once you have your racer working turning left & right, try some of these challenges, or come up with your own!
If you got stuck, you can download the final working game
Challenges
- Add a reverse that lets the car go backwards when the down-arrow key is pressed
- Use the
 combo to slow the car down if you leave the track. You could even try and make the steering go all wobbly by using another variable.
 - Can you add a second car controllable using the
keys on your keyboard – race against a friend! - Can you use the
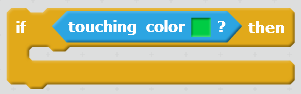
touching colorblock to detect when the car crosses the start/finish line and keep a count of the number of laps completed? - In the light-blue
Sensingsection there is a timer block with a built-in timer variable. Can you use this to somehow show a lap-time? - How about create some new car costumes that show dents and other damage when you hit obstacles on the track?